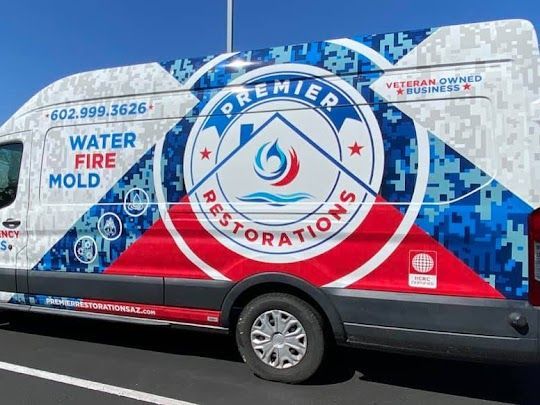
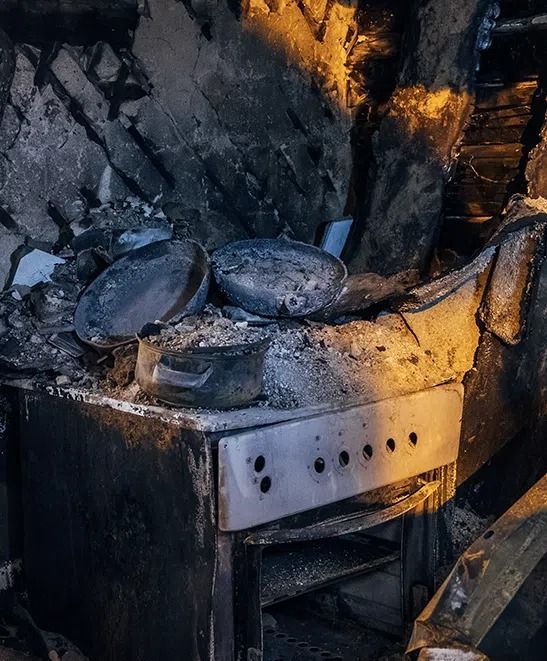
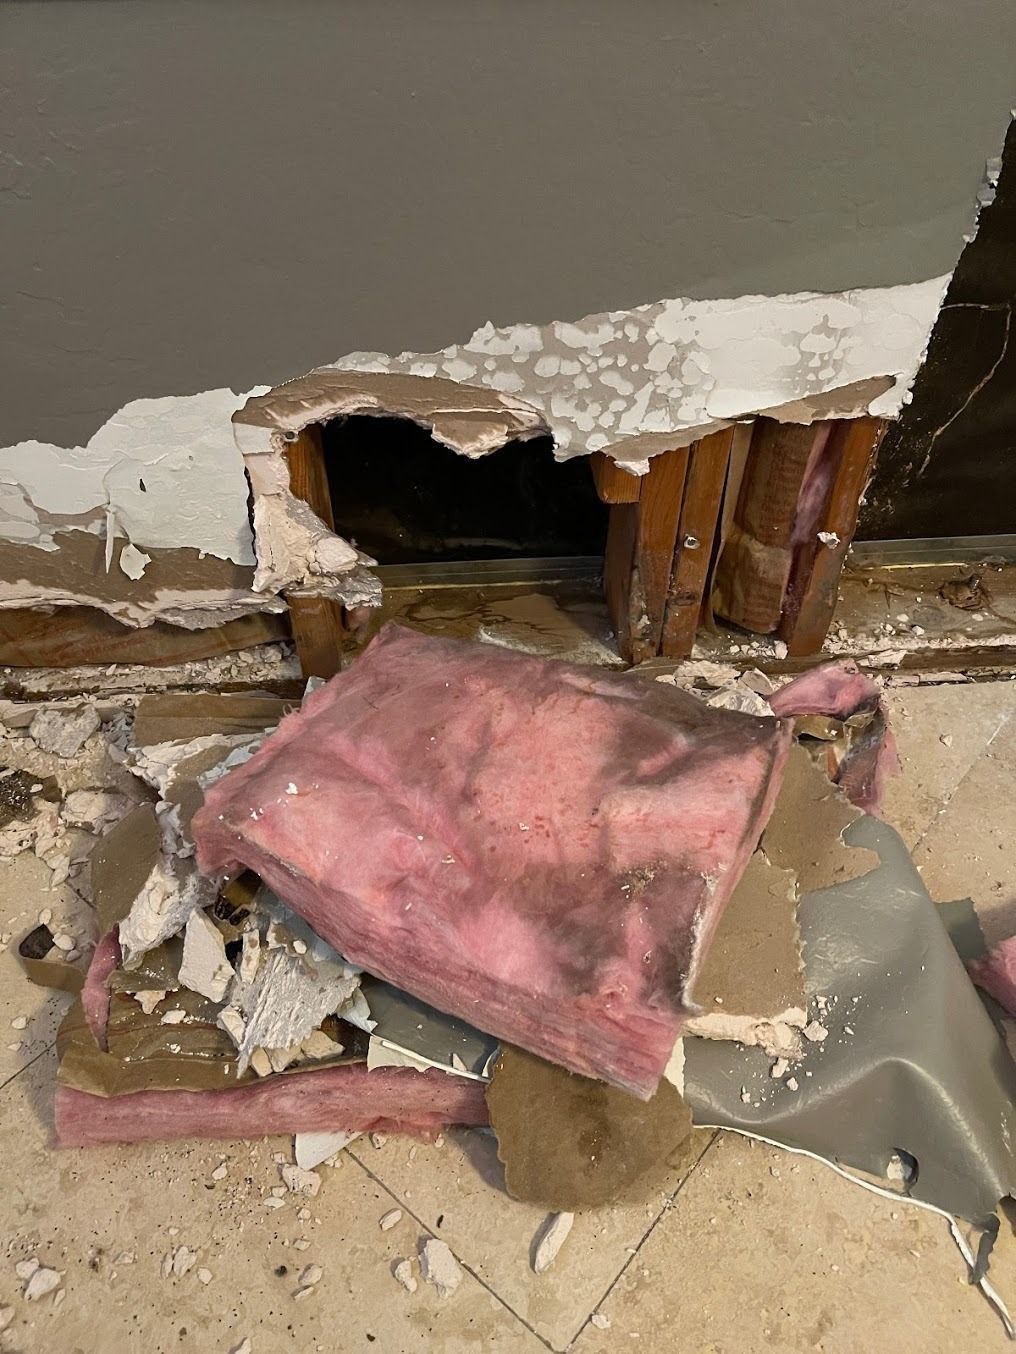
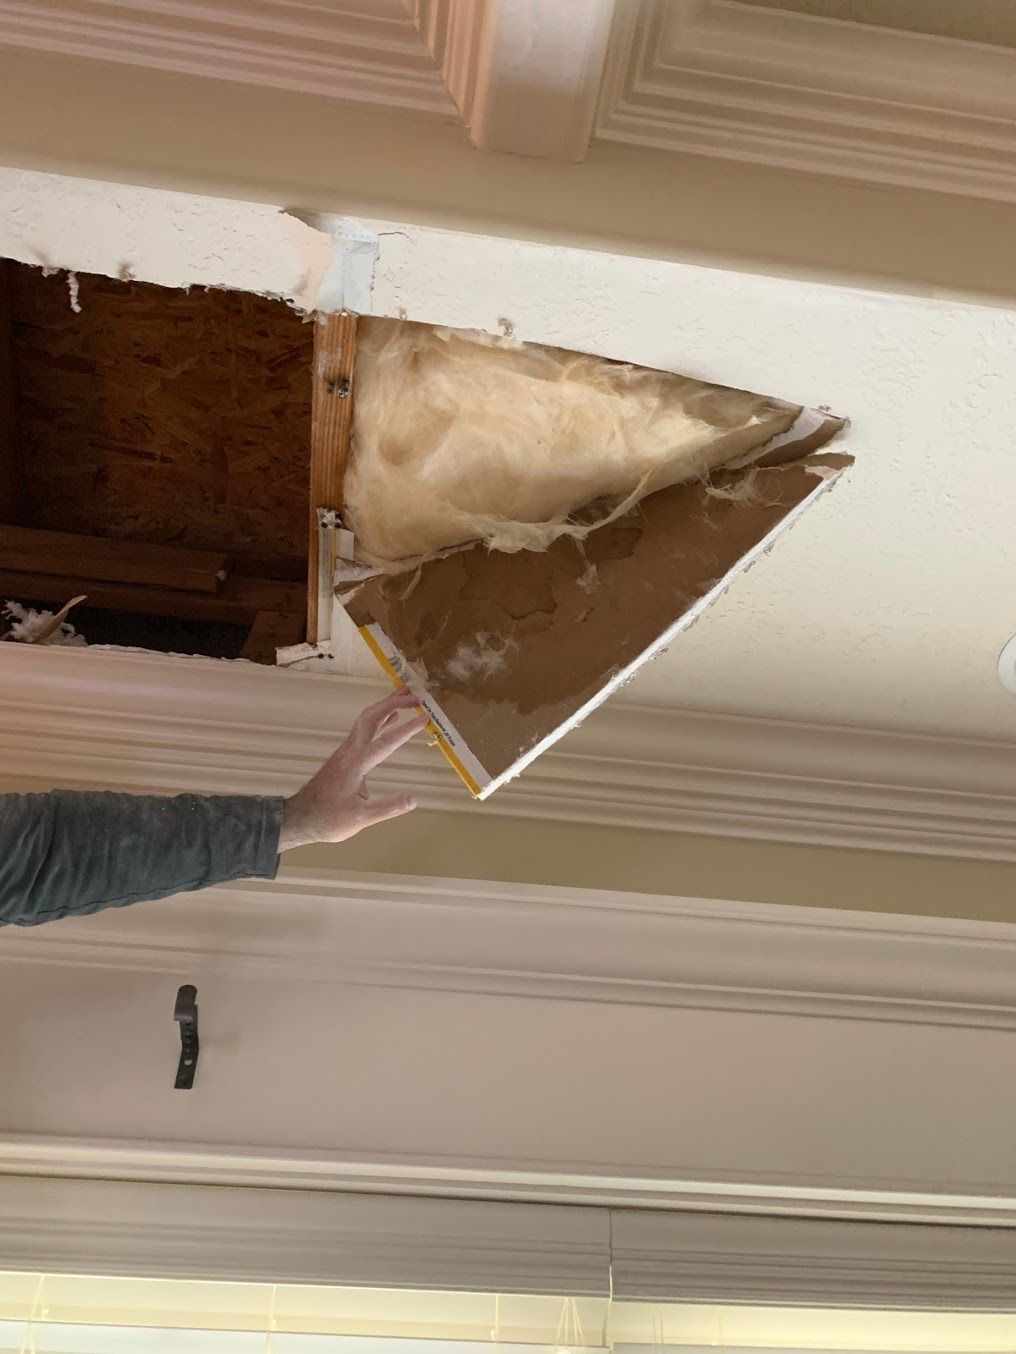
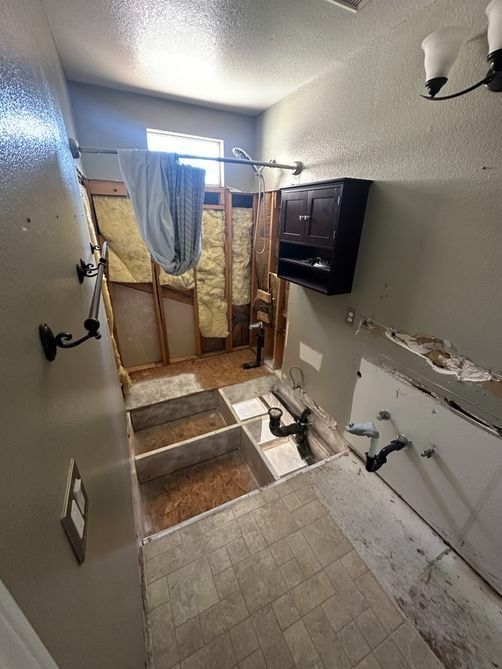
Water Damage Restoration
Maricopa County
24/7 Emergency Services Available
10% Military, First Responders, & Teachers Discounts
Over 20 Years of Combined Experience
Request Lorem Epsom
Hero Request Form
Thank you for contacting us.
We will get back to you as soon as possible.
Please try again later.
Fast, Reliable Water Damage Solutions When You Need Them Most
We've served Maricopa County for over 20 years with dedication and care. As a locally and family-owned company that's also veteran-operated, we bring both skill and integrity to every job. Fully licensed, bonded, and insured, we work with all insurance companies to simplify the restoration process. Contact us today to learn how we can help.
Text
Msgs may be autodialed. Consent to texts not required to purchase our svcs. Msg. and data rates may apply.
Why Choose Us
24/7 Emergency Services Available
10% Military, First Responders, & Teachers Discounts
Over 20 Years of Combined Experience
We Work With ALL Insurance Companies
Fully Licensed, Bonded, & Insured
We Guarantee Our Workmanship
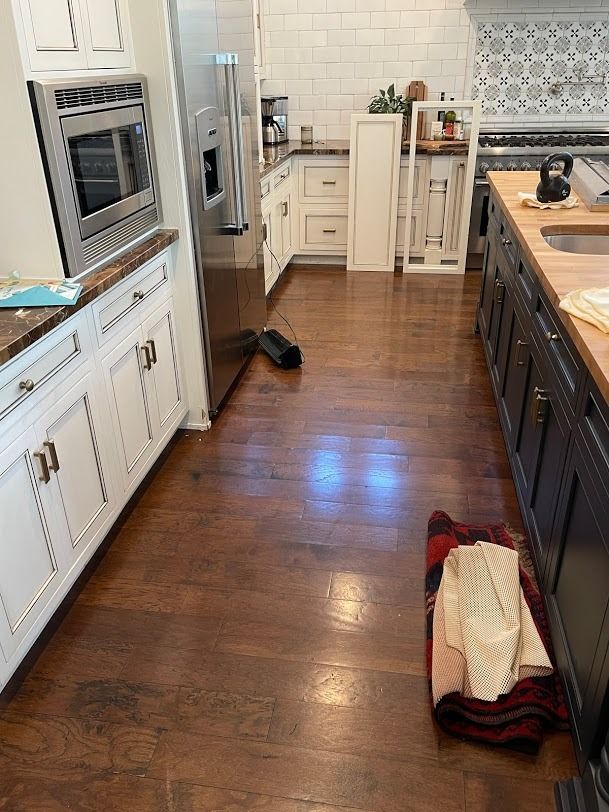
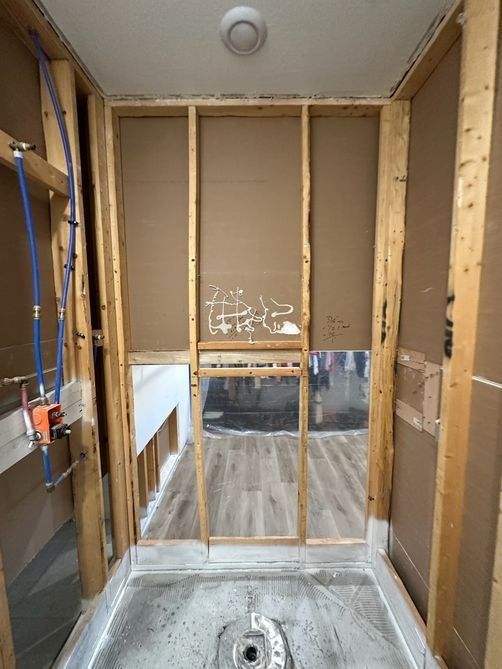
Burst Pipe Cleanup
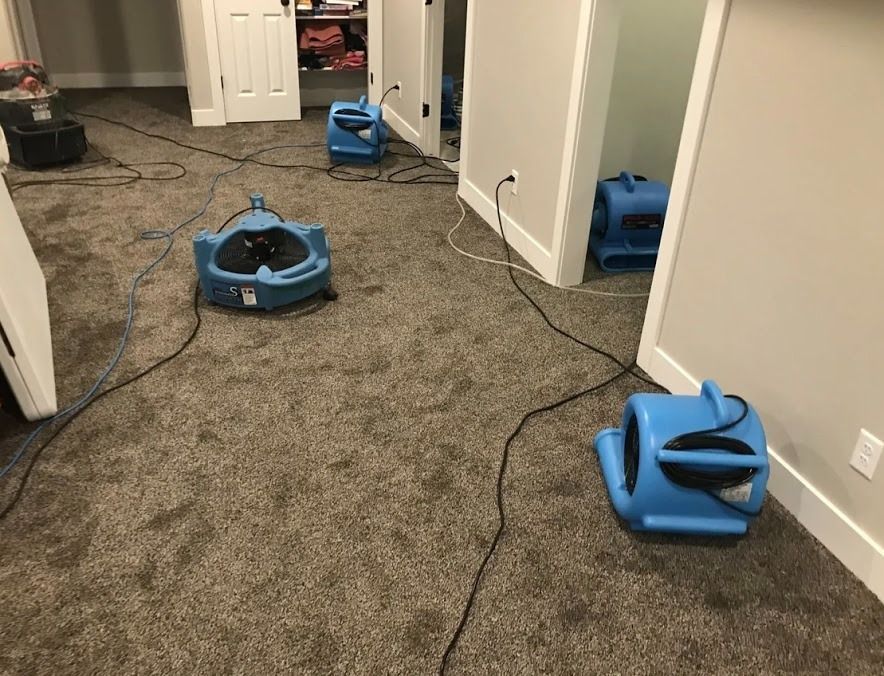
Drying & Dehumidification
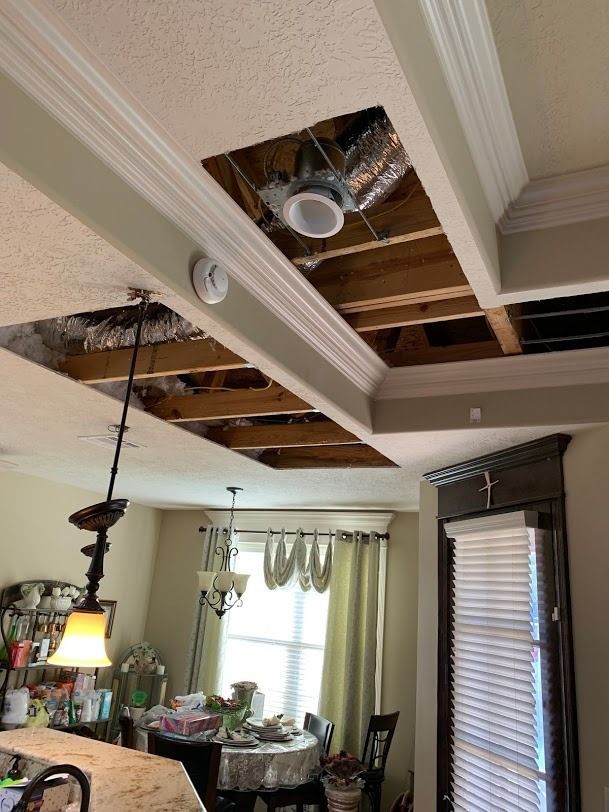
Flood Damage Restoration
Sewage Cleanup
Structural Drying
Storm Damage & Flood Recovery
Water Extraction
Water Overflow Cleanup
Small Title 15
Lorem ipsum lorem ipsum lorem ipsum lorem ipsum lorem ipsum lorem ipsum lorem ipsum lorem ipsum lorem ipsum lorem ipsum lorem ipsum lorem ipsum lorem ipsum
10% Military, First Responders, & Teachers Discount
Enjoy exclusive savings with our 10% discount for military members, first responders, and teachers—our way of saying thank you for your service and dedication.
Contact Premier Restorations today for your discount.
Not valid with any other offers or promotions. Restrictions apply.
Must mention this coupon at the time of scheduling.
Not valid with any other offers or promotions. Restrictions apply.
Must mention this coupon at the time of scheduling.
Here's what our satisfied customers are saying...
At Premier Restorations, LLC, we take pride in providing exceptional damage restoration services to our customers. We would be grateful if you could share your thoughts about our company with others. Your feedback helps us improve and helps others make informed decisions. Please take a moment to leave a review of Premier Restorations and let others know what you think.